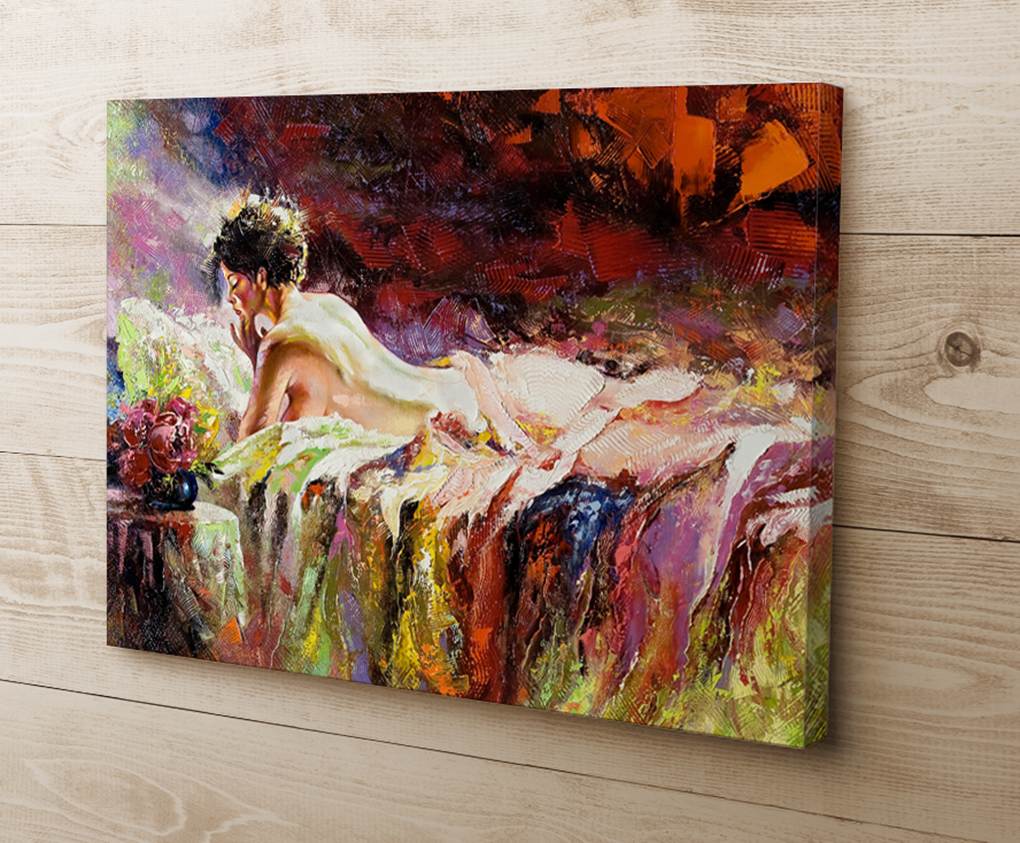
What is a mounted canvas?
There are a large number of materials that our display printers can print onto. For example, scrim vinyl for banners, backlit film for light-box displays, polyester film for retractable banners and canvas for artistic prints. For canvas, once printed, the canvas gets stretched and wrapped around a wooden frame creating that Art Gallery Display look. The result is a mounted canvas like the one pictured in the image above.
How Canvas Mounting became a service of Studio54 Print
We are always eager to add products and services to our growing repertoire. So when I had received an email by one of our clients asking if we could print an image to canvas and then mount it to a frame, I got excited. Printing an image onto canvas was a no-brainer. We have been doing that for over 20 years now. Stretching it to a wooden canvas frame was something we haven’t tackled yet at the shop. Normally we would just send it out to a framer, but these aren’t normal times, and I was itching to give it a shot.
The Research
We it comes to research, I seem to always find myself at one of these three places: Google, YouTube or Wikipedia. This one had YouTube written all over it. Above all, I wanted to watch someone stretch and mount the canvas step by step. In addition, I needed to understand the tools that are needed, the preparation that was involved, the amount of time it should take to complete, the investment we would have to make, and if it was a learnable skill. To sum up, after watching 2 or 3 videos the answer was “Yes, we can do this”.
Next stop: Google. I needed to find a vendor for the stretcher bars. These are the materials used to make the wooden frame. They come 2 per package in basic sizes. So if you wanted to create a 36″ x 24″ finished canvas you would buy one pack of 24″ stretcher bars and one pack of 36″ stretcher bars. Bingo, the craft shop Michaels sells them online. In short, my research went two for two and I’m confident we can accommodate this request.
Got back to our client with a “Yes We Can!”
The Proof is in the Pudding

The whole process was easier than we had thought. So now that is another service we’ve added to our growing list. The funny thing is that on the week our client inquired about printing and framing a canvas print, we had two other calls ask about the same thing. When it rains, it pours. 🙂
Tips and Tricks
Giving your Photo a touch of Monet
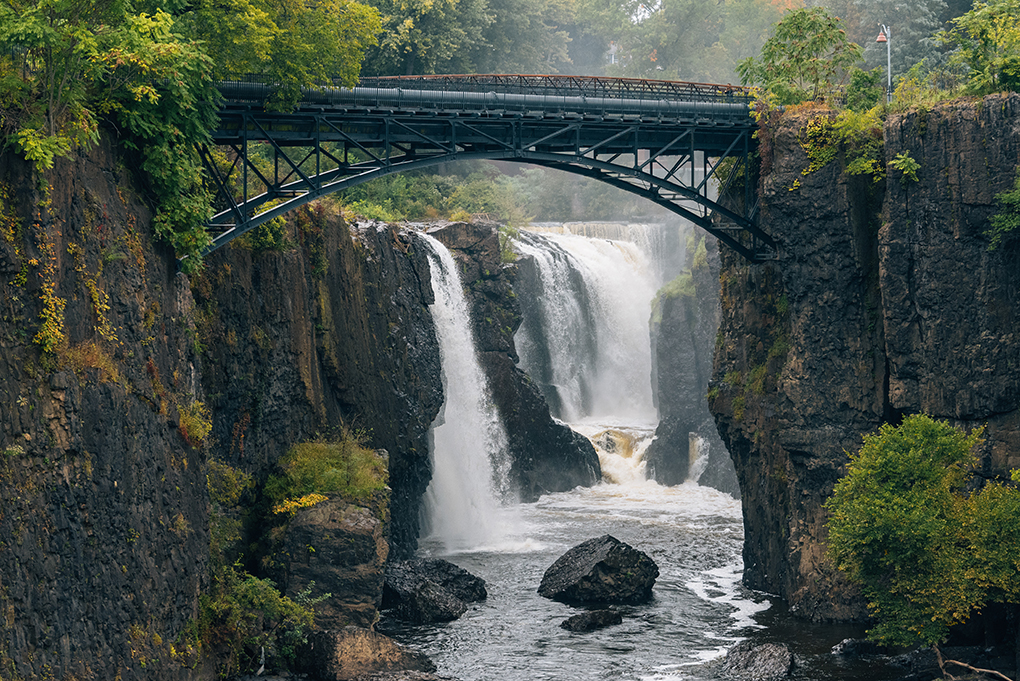
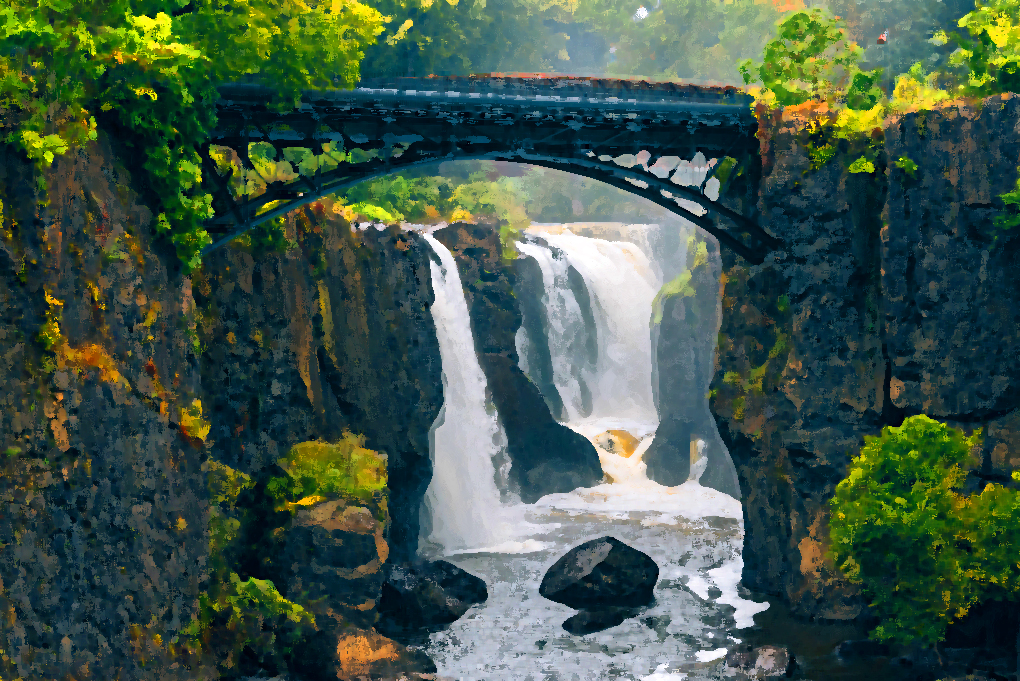
In this section we are going to explain a simple two step process you can use to make your digital photo look like a painting. The example we will use is this photo of the Paterson Falls shown in it’s original state.
Firstly, open your digital photo in Adobe Photoshop and in the Filter menu choose Filter Gallery. When the Filter Gallery opens, go to the Artistic folder and choose Dry Brush. Here you can manipulate the Brush Size, Brush Detail and Texture. Play with these settings until you are happy with the look.
Now it is time to saturate the color. In the Image menu, under Adjustments, choose Hue/Saturation. Give the saturation a huge boost. We went up over (+)50. This makes it look like the paint is fresh from the palette, even Bob Ross would be proud. I can hear him now saying “You too can paint almighty pictures.”
How to determine the size your JPEG can enlarge and print to
Have you ever looked at an image on your computer screen or cell phone and thought “this would look great in a frame”. Then you print it only to find out it isn’t as crisp and clear as it seemed on screen. The reason is monitors are usually 72-96 dpi (dots per inch). Printers are much higher. So a 72 dpi image can look crisp on your screen, but when you print it to make up the difference your printer driver “fills in the gaps” and this makes the image look jagged and fuzzy.
The Details
There is a way to check the actual size of your JPEG as well as how large you can make it before you send it to print.
1) On your PC, locate the image you are trying to print and right click on it
2) When the menu pops up, scroll down and click Properties, then click on the Details tab
3) Under Image it will show you the image Dimensions as well as it’s Resolution (either Horizontal or Vertical will work)
What Does It Mean
A trick I’ve learned is to use the Resolution as a guide as to the maximum size you can print the image without it becoming fuzzy. So if the Resolution is 100 dpi, it can print at 100% current size. If the Resolution is 300 dpi, then you can enlarge up to 300% or 3 times it’s current size. If the Resolution is 72 dpi, then it should print at 72% it’s current size.
To determine the current size, divide the Dimensions by the Resolution. For example, if the Dimensions are 1650 x 2550 (the first dimension is the width, the second is the height) and the Resolution is 150 dpi, then the current size in inches is 11″ x 17″ vertical (if you want to see the Math, look below Table 1). Going back to the printable size, since the Resolution is 150 dpi, it can print up to 150% or 1.5 times it’s current size. So the maximum printable size of this image without losing clarity would be 16.5″ x 25.5″ (see Table 2).
Table 1: Width is 1650/150 = 11 /// Height is 2550/150 = 17
Table 2: Width is 11 x 1.5 = 16.5 /// Height is 17 x 1.5 = 25.5